
Maintaining the highest hygiene standards is paramount in veterinary practices. Veterinary ultrasonic cleaners offer a safe, efficient, and thorough method for cleaning surgical instruments and other equipment, ensuring optimal hygiene and prolonging the life of valuable surgical tools. These cleaners utilize the power of ultrasonic cavitation to remove contaminants like blood and tissue, reaching areas that are difficult to clean with manual scrubbing.
Why Choose a Veterinary Ultrasonic Cleaner?
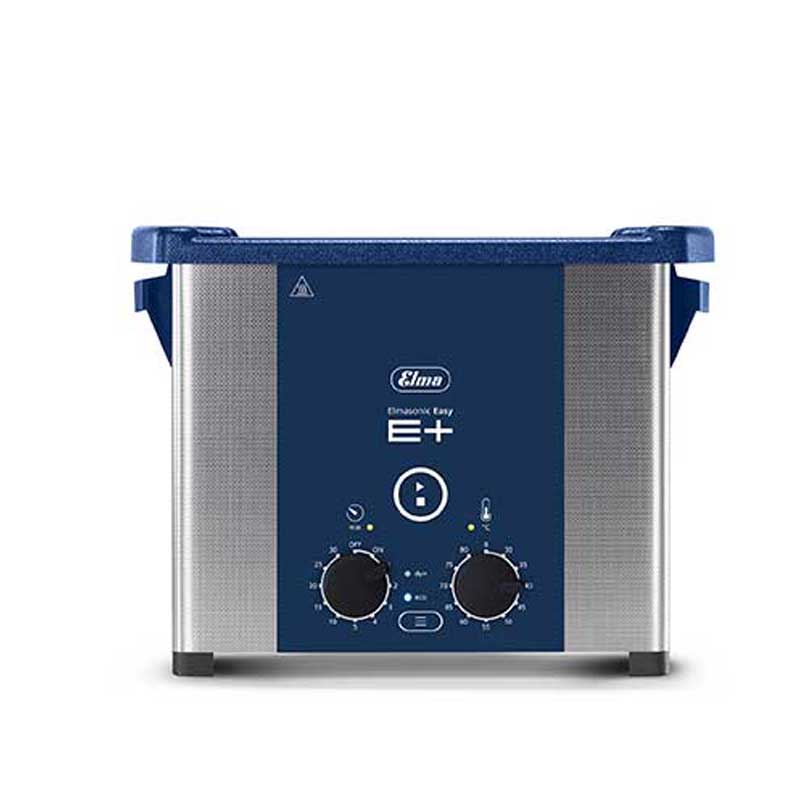
Ultrasonic Cleaner
Ultrasonic cleaners offer several benefits for veterinary practices:
- Enhanced Cleaning: The cavitation process effectively removes even the most stubborn contaminants, including blood, tissue, and other organic debris, from complex instruments with crevices and hard-to-reach areas.
- Increased Safety: Ultrasonic cleaning minimizes the risk of staff injuries associated with manual scrubbing of sharp instruments.
- Improved Efficiency: Ultrasonic cleaning is faster and more efficient than manual cleaning, freeing up staff time for other tasks.
- Extended Instrument Life: Gentle yet thorough cleaning helps preserve the integrity and longevity of delicate surgical instruments.
- Reduced Risk of Cross-Contamination: Proper ultrasonic cleaning protocols help minimize the risk of cross-contamination between instruments and patients.
How Ultrasonic Cleaning Works
Ultrasonic cleaners generate high-frequency sound waves that create microscopic bubbles in the cleaning solution. These bubbles implode with tremendous energy, dislodging contaminants from the surfaces of immersed instruments. This process, known as cavitation, reaches even the tiniest cracks, crevices, and blind holes, ensuring thorough cleaning without damaging delicate instruments.
Choosing the Right Veterinary Ultrasonic Cleaner
When selecting an ultrasonic cleaner for your veterinary practice, consider the following factors:
- Tank Size and Capacity: Choose a tank size that accommodates the largest instruments you need to clean. Consider the volume of instruments you typically clean at once to ensure adequate capacity. A benchtop ultrasonic cleaner will work best for most offices.
- Ultrasonic Frequency: A frequency of 37 kHz, like that offered by the Elmasonic S70H and S150, is generally ideal for cleaning veterinary instruments.
- Features: Look for features like degassing modes, timers, and temperature controls for enhanced cleaning performance and ease of use.
- Cleaning Solutions: Use cleaning solutions specifically formulated for medical instruments and compatible with ultrasonic cleaning.
Implementing Ultrasonic Cleaning in Your Veterinary Practice
- Preparation: Remove gross contamination from instruments before placing them in the ultrasonic cleaner.
- Cleaning Solution: Fill the tank with an appropriate cleaning solution, following the manufacturer’s dilution instructions.
- Degassing: Activate the degas mode to remove dissolved gases that can inhibit cavitation. If the unit lacks a degas mode, run it without a load for approximately 45 minutes.
- Instrument Placement: Segregate instruments by alloy and place them in the provided tray, ensuring they do not touch each other.
- Cleaning Cycle: Lower the tray into the bath and set the timer according to the manufacturer’s recommendations, typically around 5 minutes.
- Rinsing: Thoroughly rinse instruments with deionized or distilled water to remove all traces of the cleaning solution.
- Drying: Allow instruments to air dry or use a clean, lint-free cloth.
- Disinfection/Sterilization: Follow your established protocols for disinfecting or sterilizing instruments after cleaning.
Maintaining Your Ultrasonic Cleaner
- Regular Cleaning: Clean the tank and replace the cleaning solution according to the manufacturer’s recommendations.
- Scheduled Maintenance: Schedule periodic maintenance checks to ensure optimal performance and longevity of the unit.
Investing in Hygiene
Veterinary ultrasonic cleaners are a valuable investment in the hygiene and efficiency of your practice. By providing thorough and safe cleaning for surgical instruments, these cleaners contribute to optimal patient care, staff safety, and the longevity of your valuable equipment. Contact ultrasonic cleaning experts to discuss your specific needs and choose the right cleaner for your veterinary practice.